HOW TO MAKE VEGAN ALMOND CHEESE

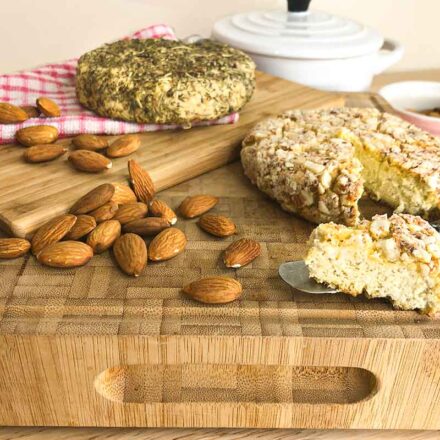
Vegan Almond Cheese
Equipment
- Cheesecloth
- Measuring Cup and Spoons
- Blender
- Baking Sheet
- Oven
- Mesh Strainer
Ingredients
- 1 ½ Cup Blanched Almonds
- 2 ½ Tbsp Lemon Juice
- 3 Tbsp Extra Virgin Olive Oil
- 1 Clove Garlic
- 1 ¼ Tsp Salt
- ⅔ Cup Water
Instructions
Prepping the Almonds
- Soak almonds for 6 hours (or overnight)
- Remove the skins. They should slip off real easy after soaking them overnight.
Blending All Ingredients
- Once they are blanched and soak, put them in the blender.
- Add lomen juice, olive oil, garlic, salt and water.
- Blend until mixutre is creamy. If the mixture is too thick add 1 Tbsp of water till it blends well.
- When smooth and creamy, remove from blender, divide mixture into two equal portions (or keep together for one large cheese) and place in a mesh strainer that is lined with cheese cloth. Place in bowl and squeeze out excess water. Chill in refrigerator over night. Option: place mixture in cheese cloth and squeese excess water. Tie with string and hang from a knob or cupboard handle and over a bowl overnight to remove water and enhance the flavors.
Dry/Drain Overnight:
- After the cheese has drained well over night, gently remove it from the cheesecloth and put it on silcone (or lightly greased) baking sheet.
Bake
- Bake at 325° for 25-30mins for a soft cheese. For a more crumbly cheese bake at 350° for 35-40mins
- After cools down place in an airtight container and refrigerate. Cheese will set up more when chilled.
- * This is a great base. You can add herbs, crust in almonds, add miso, rejuvelac or nutritional yeast for more flavor. Get as creative as you like!
There are hundred different recipes out there on how to make cheese. And even more that are made with dairy!
After giving up dairy over a year ago, the one thing I missed was cheese. I didn’t mind finding substitutes but I couldn’t find cheese that did have all the preservatives and things like the xanthan gum in it. So, I decided to make my own.
This was a little intimidating since I’ve never made cheese but thought I’d give it a try. This recipe is a great base cheese. What’s nice about it is, that it’s super simple and you can add stuff to it to give it more flavor.
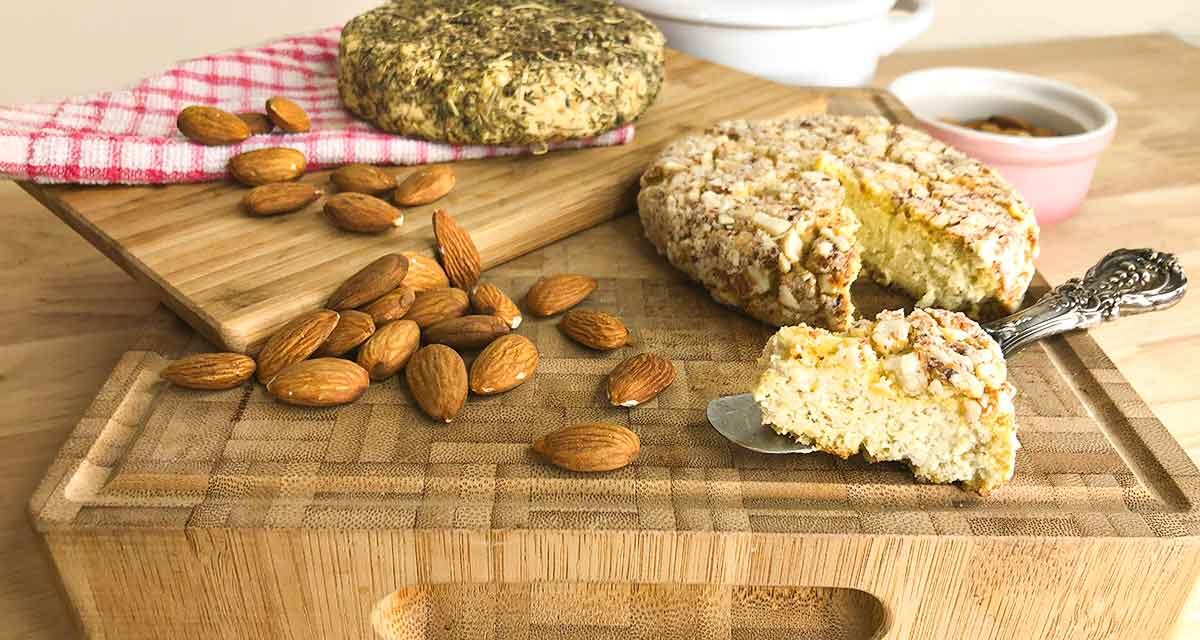
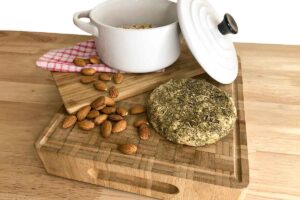
I love mine rolled in Herbs de Provence, it just gives it so much flavor and is perfect on crackers or even smoked salmon.
Step By Step
Again… this recipe is so simple, that anyone can make it. Here are step-by-step instructions on making your almond cheese.
Step 1:
Soak the Almonds overnight

Step 2:
Blanch the almonds. This takes a bit of time but it’s pretty easy. Just put them between your fingers and push the nut out of the skin.

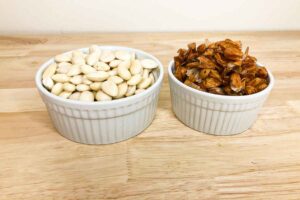
Step 3:
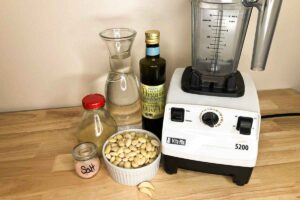
You will need blanched almonds, water, olive oil, lemon juice, salt, garlic, and a blender. Place all the ingredients in the blender.
Step 4:
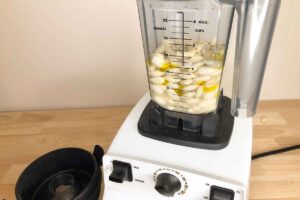
Blend till smooth. If the mixture is being difficult then add more water. 1 Tbsp at a time.
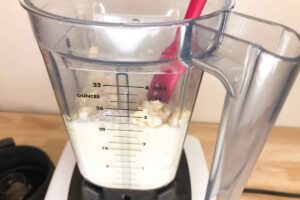
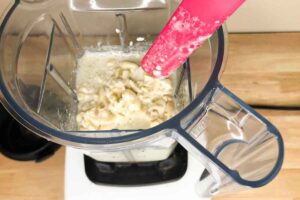
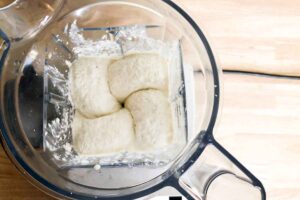
Here you can add nutritional yeast or herbs to the mixture and let it sit overnight to really absorb them in.
Step 5:
Place mixture in a cheesecloth. I usually split the mixture into two portions. But you can have one large cheese if you want. Place the cloth in a Mesh Strainer and over a bowl to help remove the excess water.
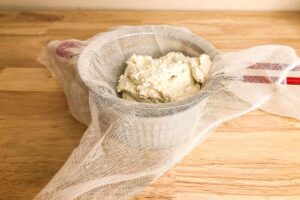
Step 6:
Squeeze out what you can and then place it in the refrigerator overnight.
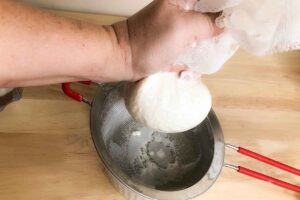
If you don’t have a mesh strainer, you can squeeze out the excess water and string it up and let it drain overnight. I like this way better, I feel it dries out the cheese more.
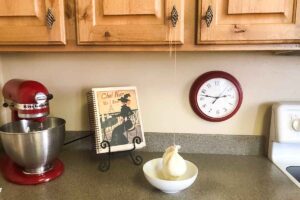
Step 7:
After letting the cheese set up overnight (which removes the excess water and absorbs the flavors), take it out of the refrigerator. Carefully remove it from the cheesecloth. You will want to shape the cheese. Add any herbs or roll it in nuts to give it more flavor. You can get fancy and make it look like you are a professional like this!
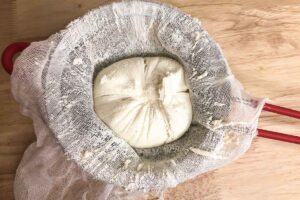
Step 8:
Place the cheese on either silicone or a lightly greased baking sheet.
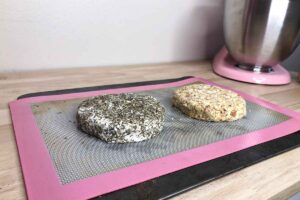
Step 9:
For a soft cheese bake at 325° for 25-30 minutes. If you want more crumbly (but still soft) cheese bake at 350° for 35-40 minutes.
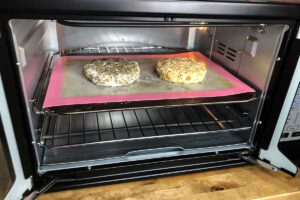

Step 10:
Remove cheese from the oven and let cool. Once it’s cool, place it in an airtight container and in the refrigerator to allow it to be fully set up.
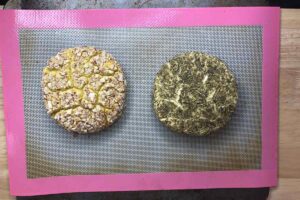
This is such an easy recipe that you can really get creative with it. Maybe even add some fruit or extra nuts to it. I love this cheese because there are no additives or chemicals in it… just super simple and made with all the ingredients you probably already have in your kitchen now! Enjoy…

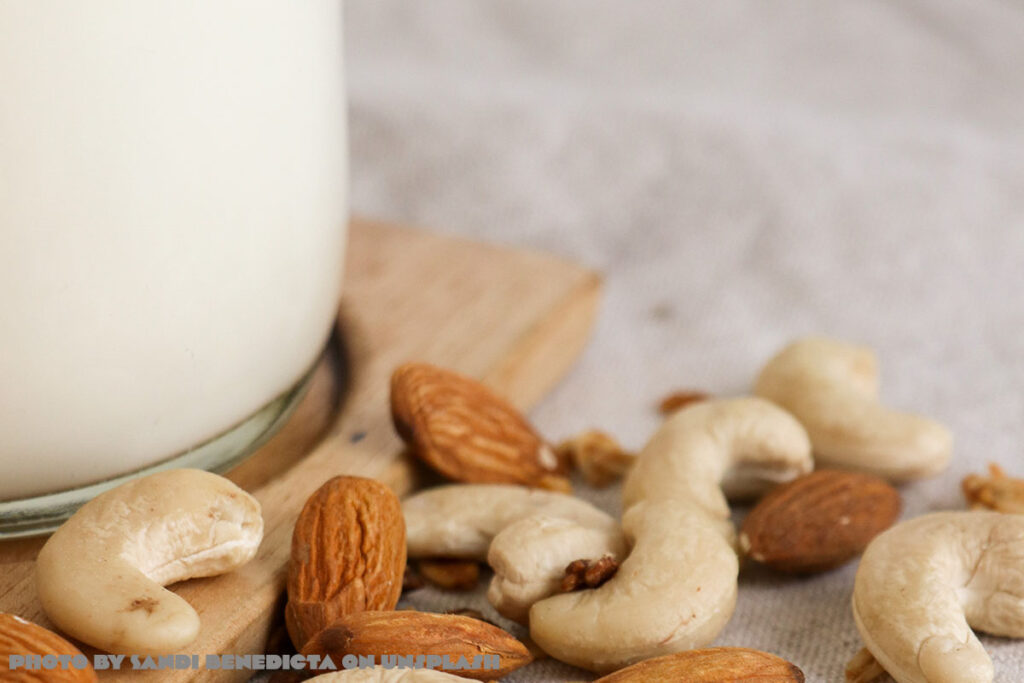
Do you love alternative milks? Did you know there are a lot of harmful ingredients in most non-dairy milk… see what to shop for when buying your favorite kinds of milks…
Stop Buying Additives In Your Milks!


